Question Theme
Answer
- Install the Raster Attribute Table (RAT) plugin, install: https://plugins.qgis.org/plugins/RasterAttributeTable/
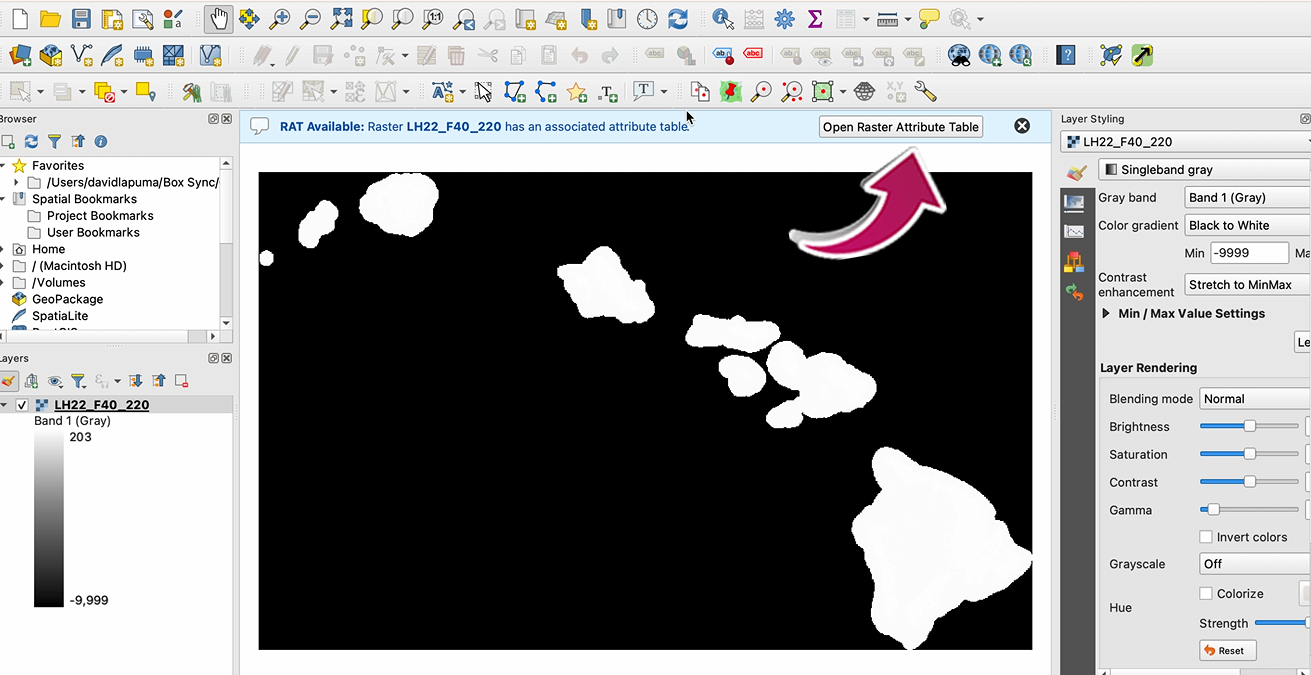
- Add the raster file to QGIS
- If a RAT exists you will see the RAT available bar, shown below
- If data was downloaded from LF Viewer or from the website page for Mosaic Downloads, the attribute table is included
- If data was downloaded from the LFPS tool, an attribute table can be found on the product page.

- If you do not see the RAT available bar, right click on the raster file, and either select your attribute table, or add your attribute table
- Open the RAT
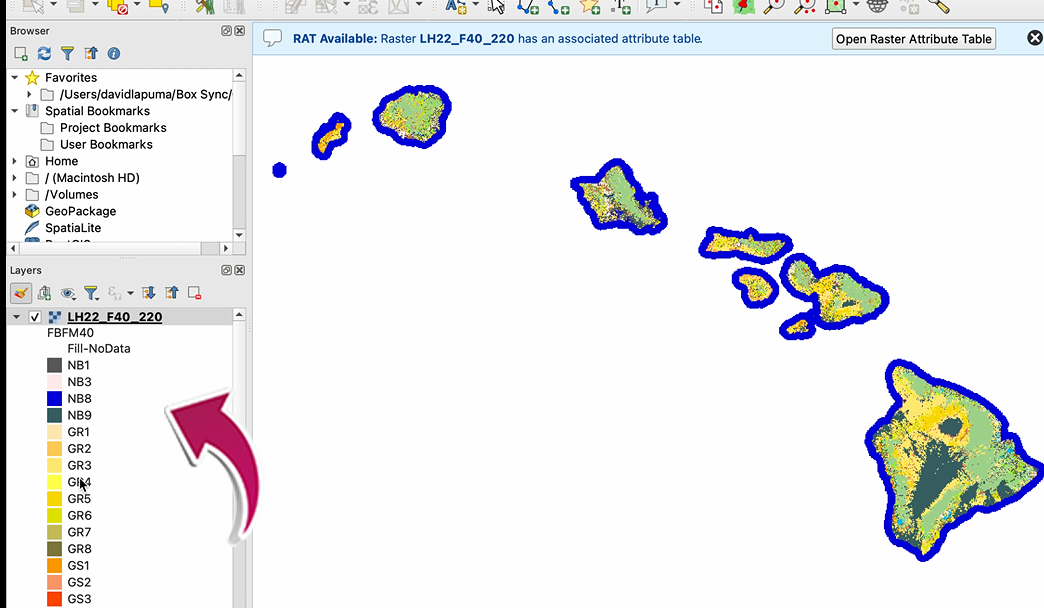
- Select your Classification from the drop-down: (FBFM40) Red, Green, or Blue

- Click on the Classify button
- A pop-up window will ask if you want to overwrite the existing classification--select YES
- The attribute table should now appear in QGIS.